
How To Install a Water Heater? A Quick Guide
17th Apr 2024

Installing a water heater is a task many homeowners face at some point. Proper installation affects your home's energy efficiency and safety. Figuring out the water heater installation cost can be a big factor in deciding to do it yourself.
In this guide, we'll walk you through how to install a hot water heater. We'll cover everything from choosing the right tools to the final steps of installation. Let’s get started!
Tools Required To Install A Water Heater
Adjustable Wrench
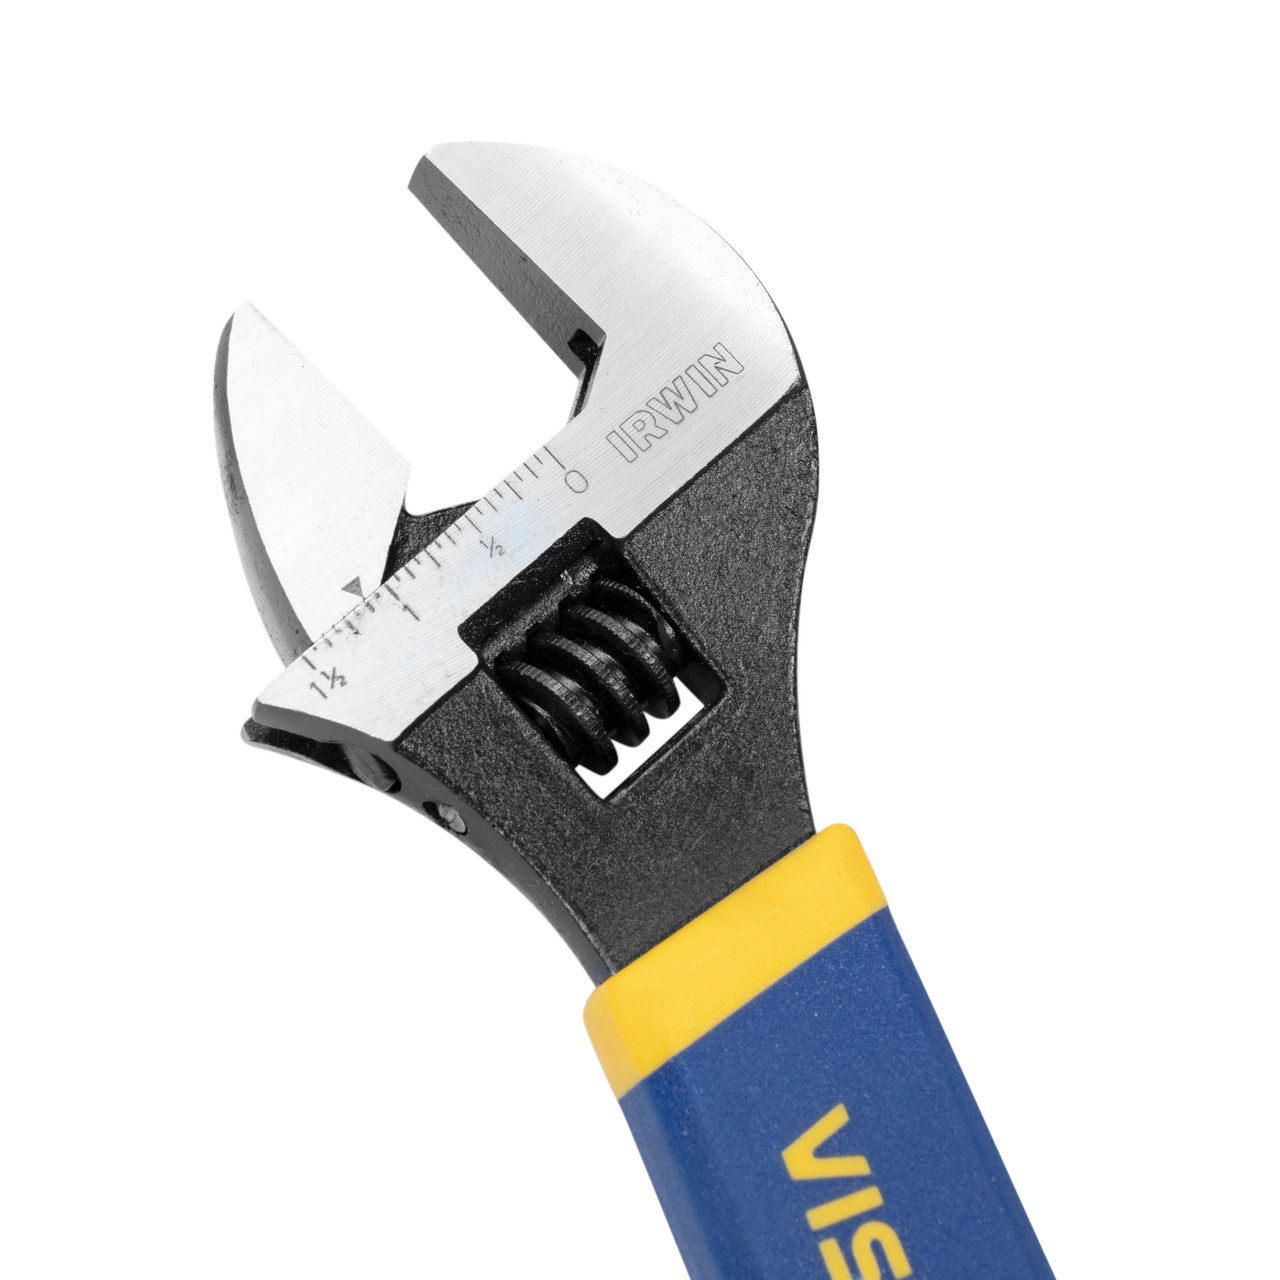
To successfully install a water heater, equip yourself with an adjustable wrench to ensure all connections are tight and secure without damaging the hardware. It's crucial for adjusting bolts and nuts during the installation process, making it versatile for various sizes and shapes.
Pipe Wrench
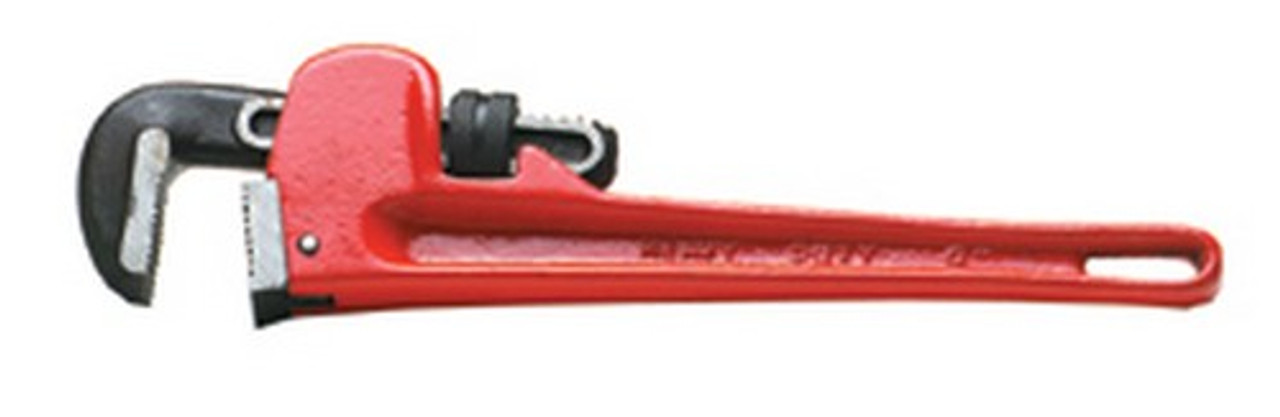
An essential tool for any DIY water heater installation is a sturdy pipe wrench, perfect for securing pipes and fittings. It's used on pipes and fittings, providing the leverage needed to secure or detach them with ease. Its design allows for a firm grip on round objects, making it invaluable when working with water lines and gas connections.
Tape Measure
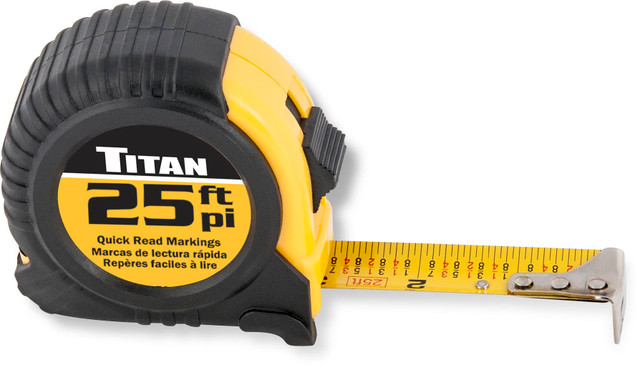
Measure your installation space accurately with a tape measure before setting up your new hot water heater to ensure a perfect fit, preventing installation delays. Accurate measurements are vital for maintaining clearances around the unit, ensuring safe operation and easy maintenance access.
Teflon Tape
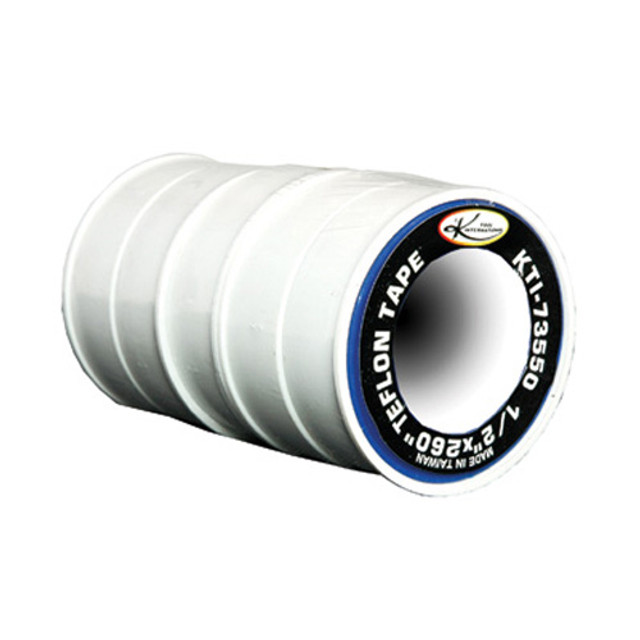
Wrap threaded joints with Teflon tape to prevent leaks, ensuring a reliable and durable water heater installation. Wrap it around threads before connecting pipes during installation to ensure a tight seal. This simple step can significantly reduce the risk of future leaks, preserving the integrity of your water heater setup.
Steps To Install a Water Heater by Yourself
Installing a water heater by yourself can be a rewarding DIY project that saves money and improves your home's efficiency. With the right tools and a bit of technical know-how, you can tackle this task over a weekend. Let's prepare to dive into the installation process, ensuring you have everything ready for a smooth transition.
1. Turn Off the Power
Before you start, make sure to turn off the power to your current water heater. If it’s electric, switch it off at the breaker. For a gas heater, turn the gas valve to "off." This step ensures safety throughout the installation process.
2. Drain the Old Unit
Connect a garden hose to the drain valve of your existing heater and run the other end outside or to a drain. Open the valve to fully drain the old water heater tank to prepare for a safe removal and installation of the new unit.
3. Disconnect the Old Heater
After draining, carefully disconnect the water supply lines from your existing water heater. For electric heaters, also disconnect the electrical wiring. If you have a gas water heater, disconnect the gas line, using caution to prevent leaks. This step prepares the space for your new water heater.
4. Place New Water Heater In Place
Secure your water heater in a drain pan to catch any potential leaks, and connect a pipe from the pan to your home's drainage system to manage water safely.
5. Install the T&P Valve
If not pre-installed, attach a new T&P (Temperature and Pressure) relief valve to your water heater. This valve prevents potential overheating and excessive pressure by water release.
6. Set Up the Discharge Pipe
Connect a discharge pipe from the T&P valve downwards towards a floor drain or a bucket to catch water, ensuring it's no longer than 6 inches above its container.
7. Connect Water Lines
Use a flexible hose kit with plumber's tape on the threads for a watertight seal. Attach the hoses to your water heater.
8. Attach the Fittings
If required by local regulations, install dielectric fittings to prevent corrosion between different metal types in your plumbing.
9. Finalize Connections
Wrap plumber's tape around the connector body threads for a leak-free connection, ensuring there's slight slack before marking and cutting the pipe. Secure everything with a compression nut.
10. Secure Against Earthquakes
In earthquake-prone areas, install seismic straps around your water heater to anchor it firmly to the wall, using a socket and ratchet for secure attachment.
11. Fill the Tank
Remove the nearest faucet's aerator, open the hot side, and slowly turn on the water supply to fill the tank, checking for any leaks and making adjustments as necessary. Let the water run briefly to clear out air and debris.
12. Set Electrical Connections and Temperature Setting
Safely connect the water heater's wiring, grounding the system properly, and set the water temperature to 120 degrees Fahrenheit following the manufacturer's instructions. Monitor the system for a few hours, adjusting the pressure if necessary and ensuring proper faucet operation.
FAQs
1. How Long Does It Take To Install A Water Heater?
The installation of a water heater typically takes 2 to 3 hours for an experienced DIYer or professional. This time can vary based on the complexity of the installation and type of heater.
2. How to Replace A Water Heater Relief Valve?
To replace a water heater relief valve, first drain the tank below the valve level, then unscrew the old valve and screw in the new one securely.
3. How to Install a Tankless Water Heater In An RV?
Install a tankless water heater in an RV by connecting it to the existing water and gas lines, and mount it securely according to the manufacturer’s instructions.
Find Your DIY Savings at JB Tools – Discounted Tools for Every Project!
Unlock DIY savings on every project, including hot water heater installation, at JB Tools. Find discounted tools to lower your water heater installation cost.
Shop now and make installing a hot water heater more affordable than ever.